Role
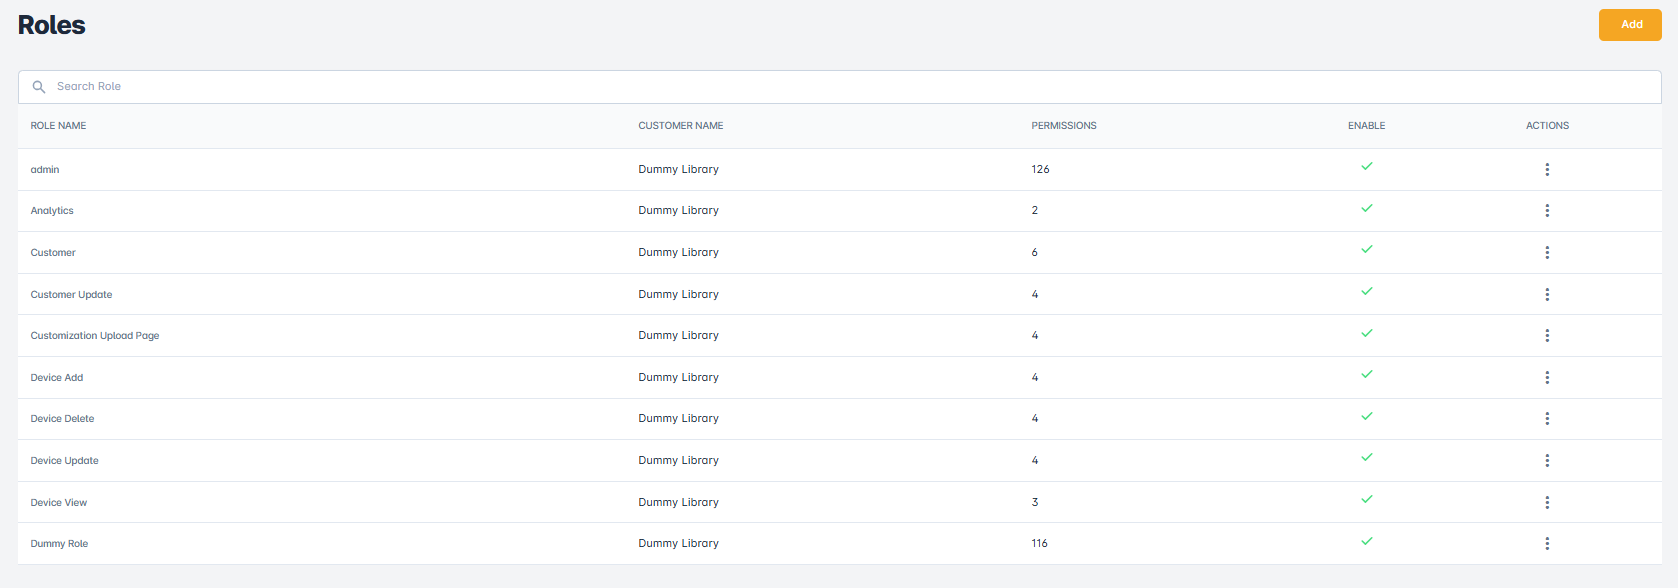
A role is a collection of permissions and lists the actions that can be performed, such as add, delete, and update. In the ePRINTit SaaS roles are created considering the actions that can be performed in each one of the navigation menu options. To create a new role, access the role screen and click on Add button.
Getting Started:
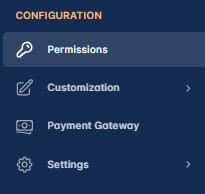
To access the Location screen, the user simply needs to login to the ePRINTit SaaS and on the menu bar navigate to the Configuration/Permissions/Roles area. This feature is managed by permissions and the user must also be associated to a group that allows the user to access this option. To get more information about groups and how to associate it to a role type that has this permission, click here.
📘 Instructions
Role | Creating-a-New-Role
Role | Updating-an-Existing-Role
Role | Cloning-an-Existing-Role
Role | Deleting-a-Role
Creating a New Role
Fill in all requested information and click Add Role button.
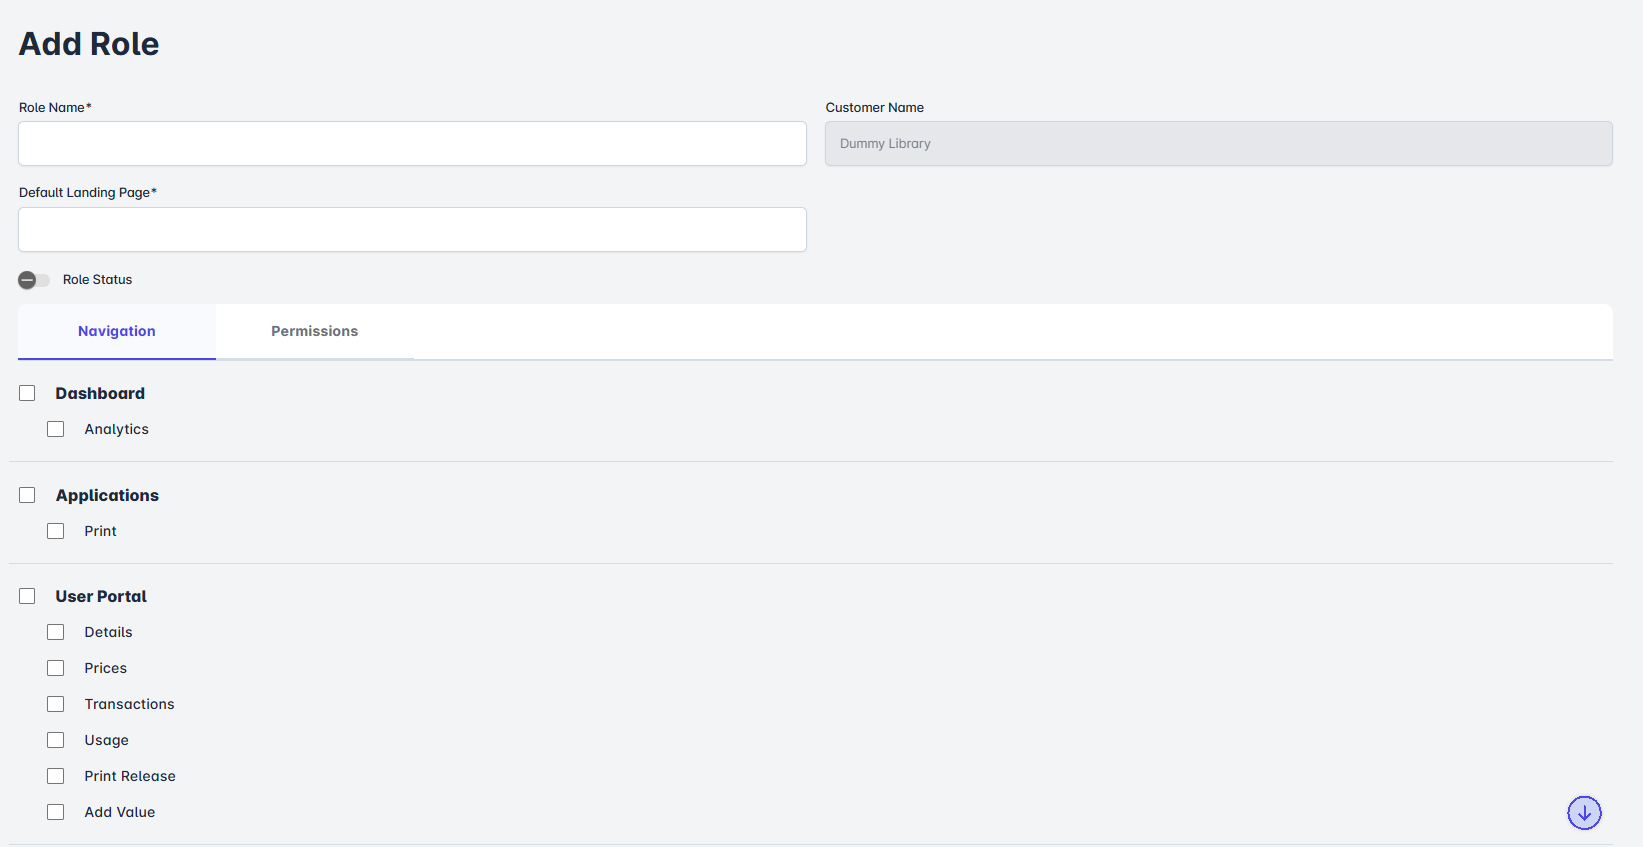
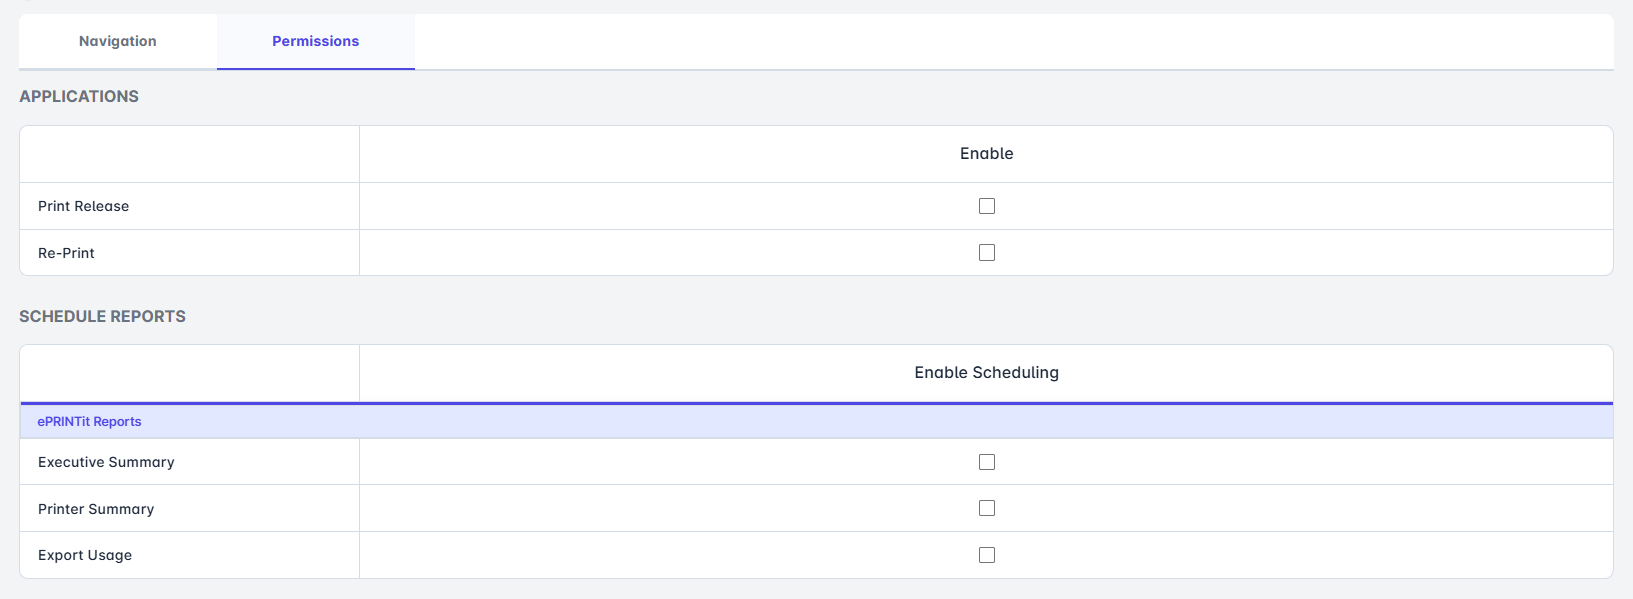
The Permissions screen will be displayed with the Role option and the area to select the permission.
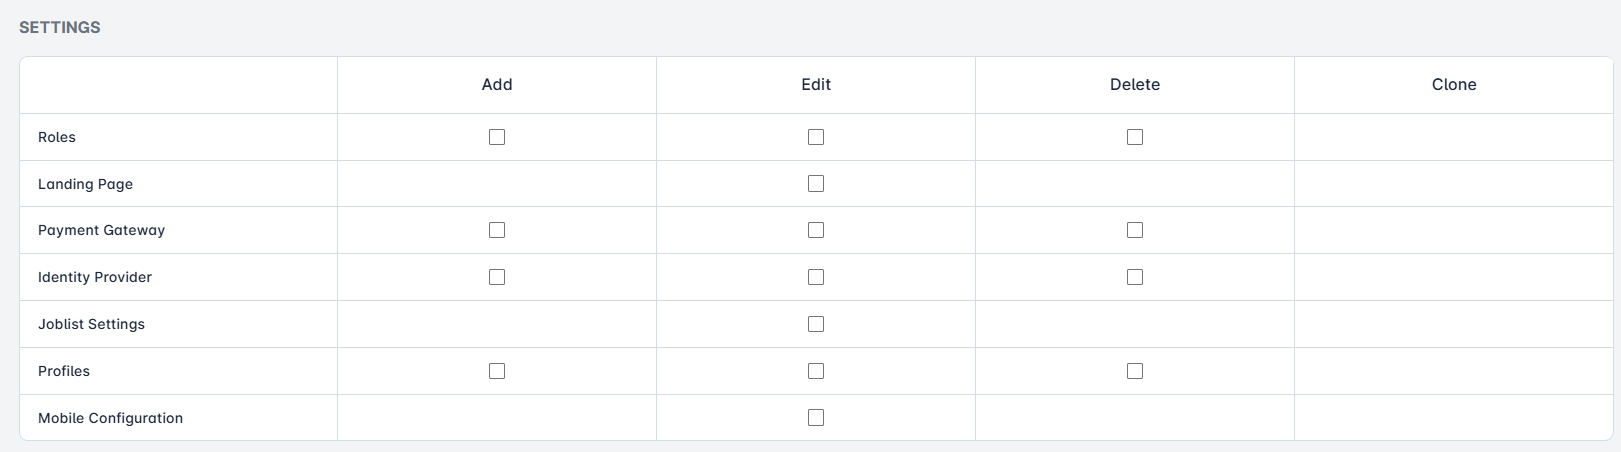
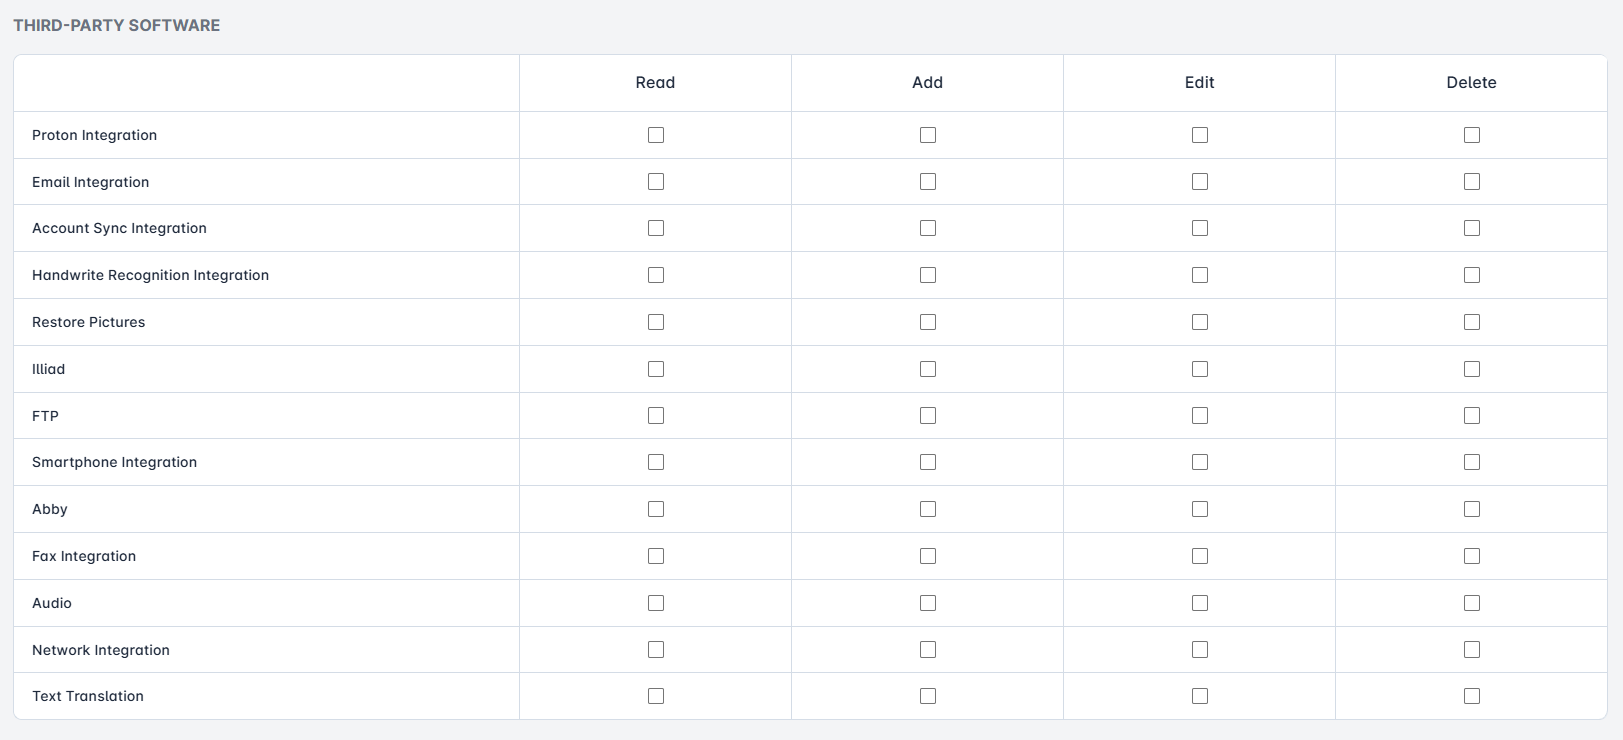

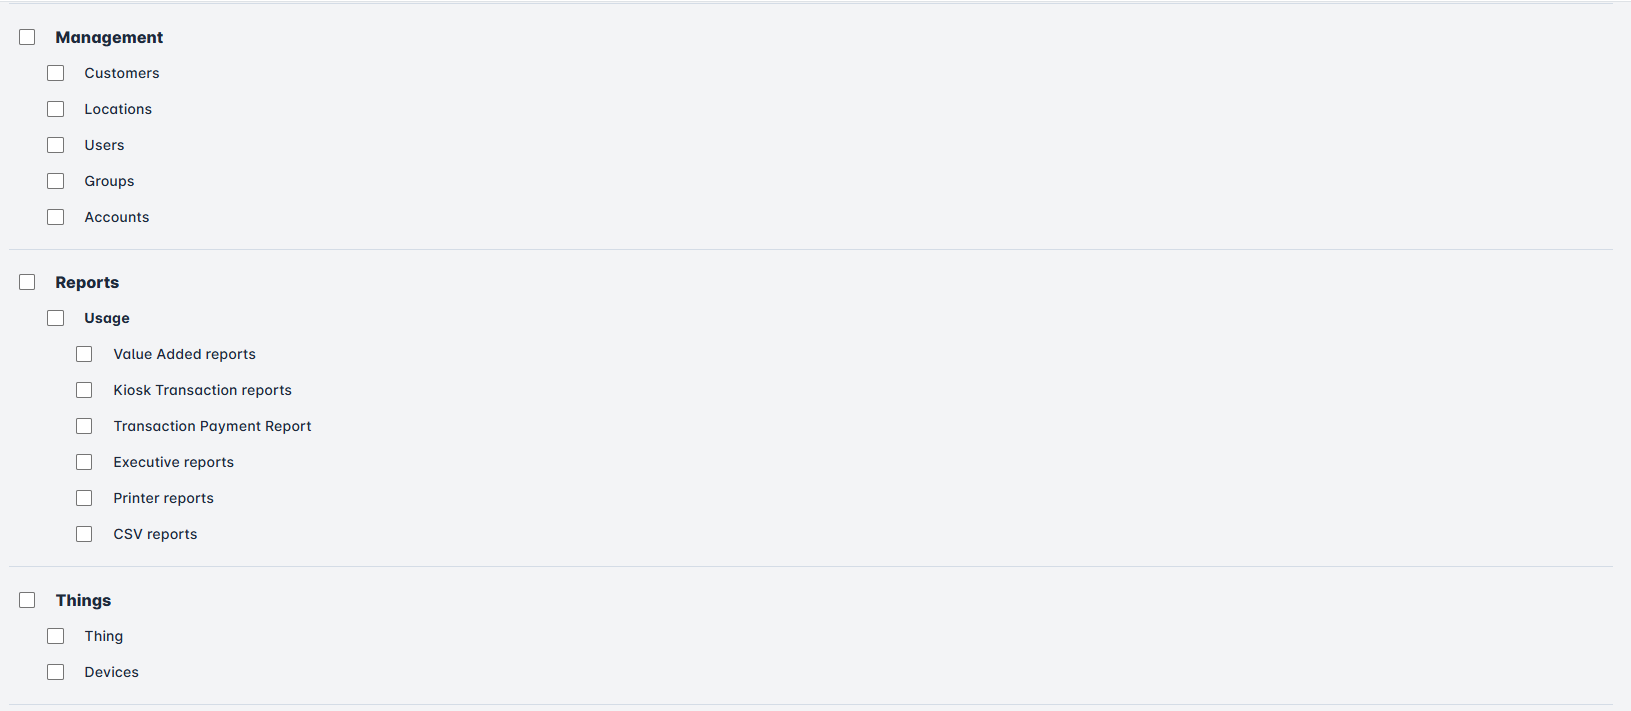
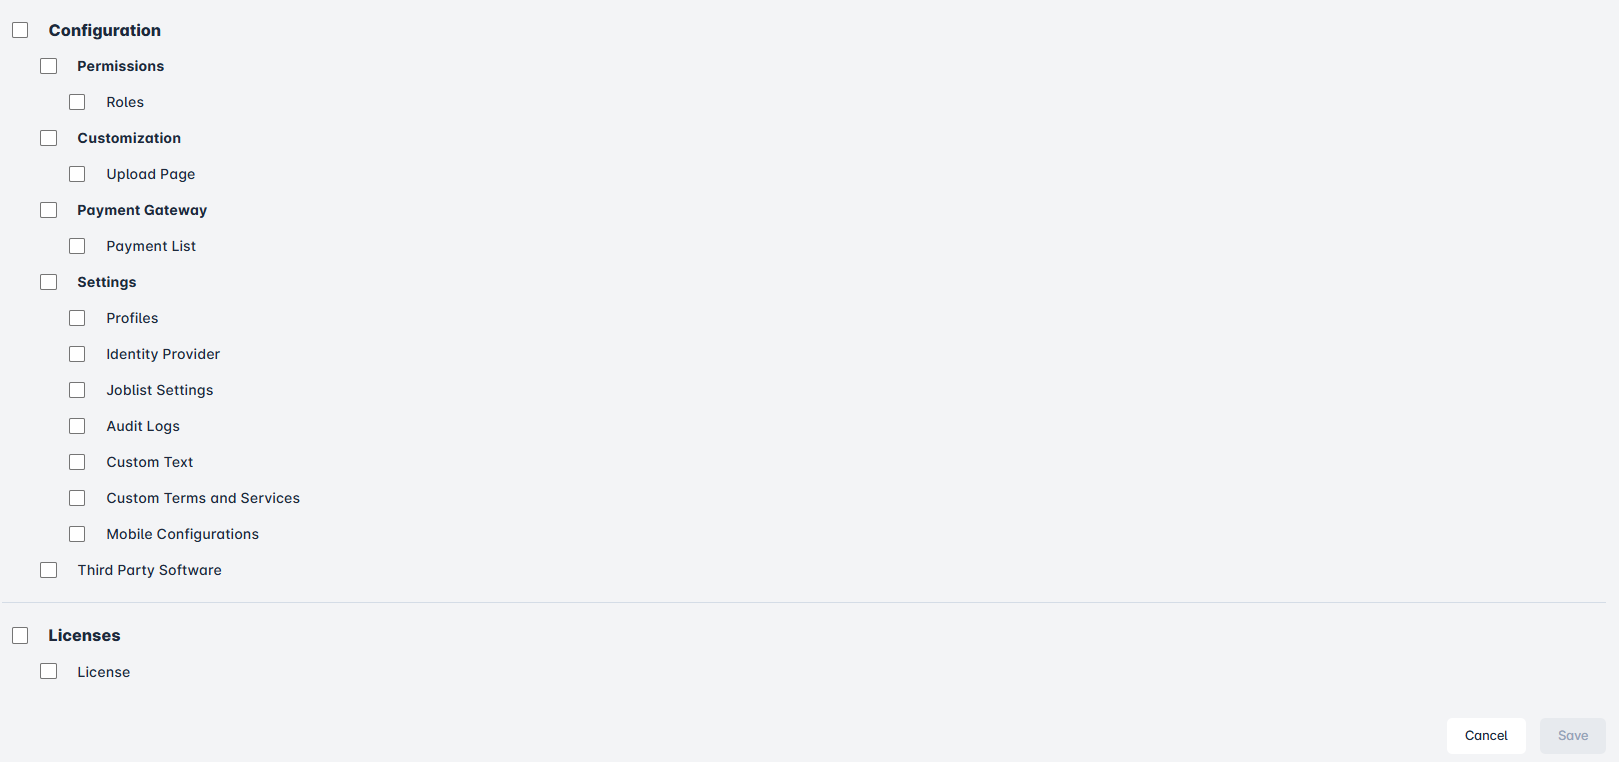
In the Navigation area, is it possible to select which menu options will be available to the Role that is being added. If all fields of the Navigation area are marked, it means the users assigned to this Role will have full access to the ePRINTit SaaS menu. If only a few fields of the Navigation area are marked, it means the users assigned to this Role will have access only to the options marked.
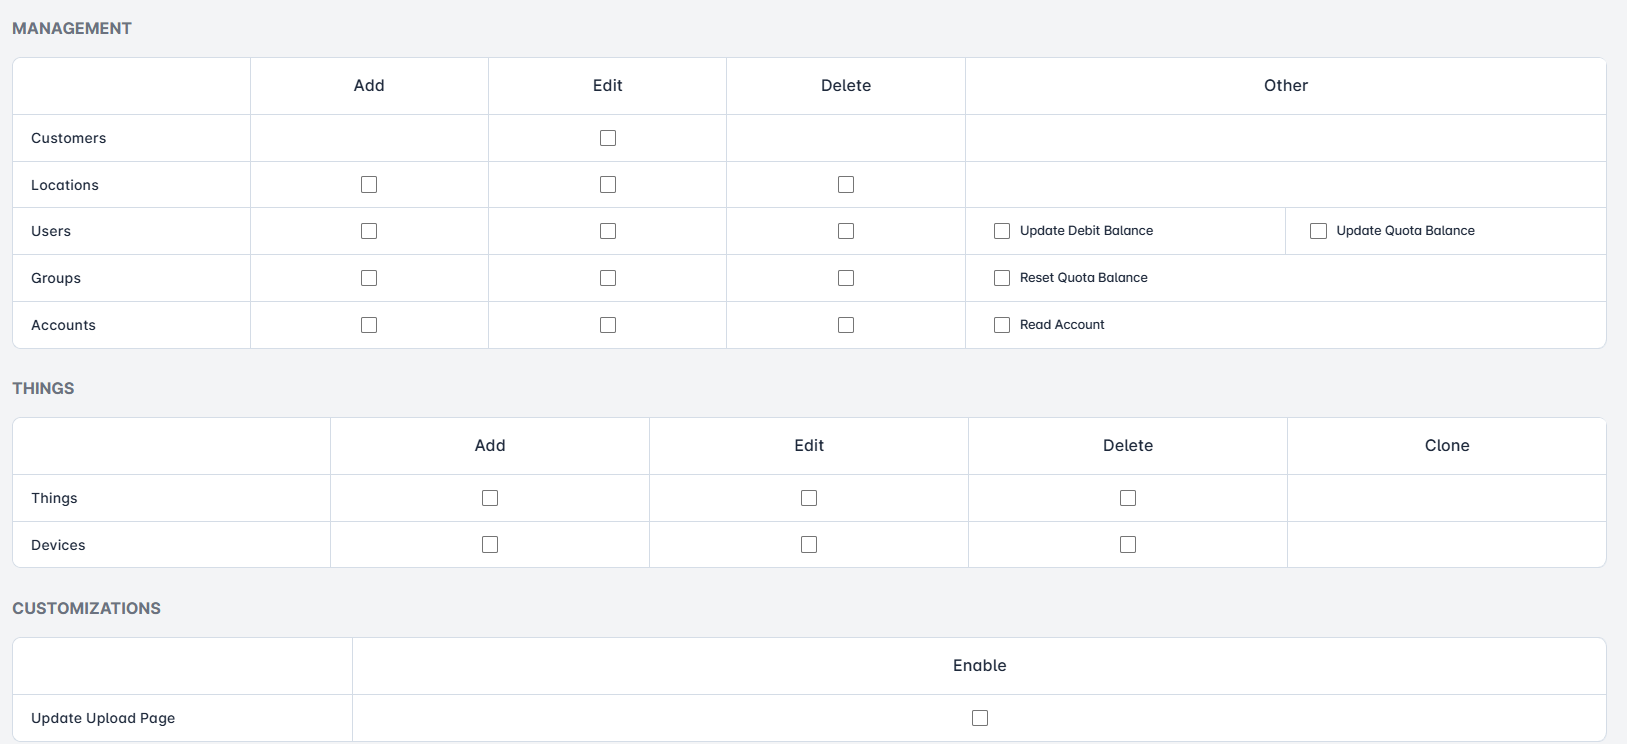
In the Permissions area, is it possible to select which action can be performed by users assigned to this Role (delete, add and/or update). Select all desired permissions and click on Update Permissions button.
After all permissions are marked, click Update Permissions button.
Role Name
Enter the role name which we want to add.
Role Type
Role Type is displayed only the group type = permissions.
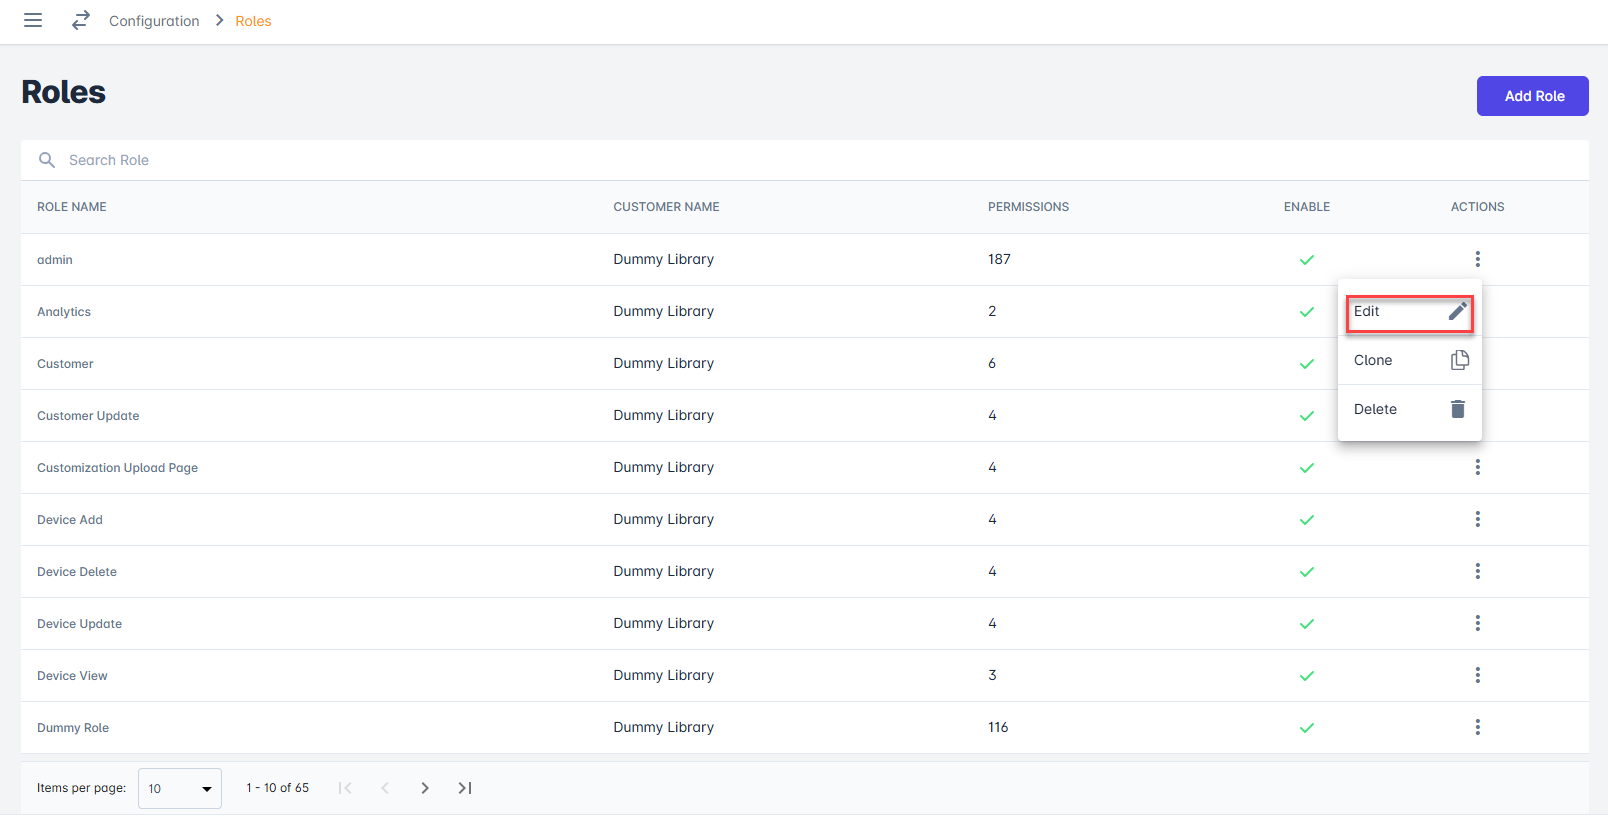
Updating an Existing Role
Click the three dots under the Actions column and select Edit option.
The Update Role screen will be displayed. After the necessary changes are made, click on Update Permissions button.
Cloning an Existing Role
Click the three dots under the Actions column and select Clone option.

Then Add Role page is displayed, which already have same Navigation and Permissions configuration as the cloned role, fill in the Role Name mandatory field for the new role:

Click on the Save button to save the new cloned role.
Deleting a Role
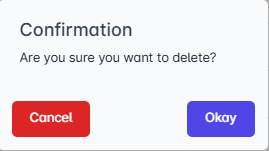
Click the three dots under the Actions column and select Delete option.
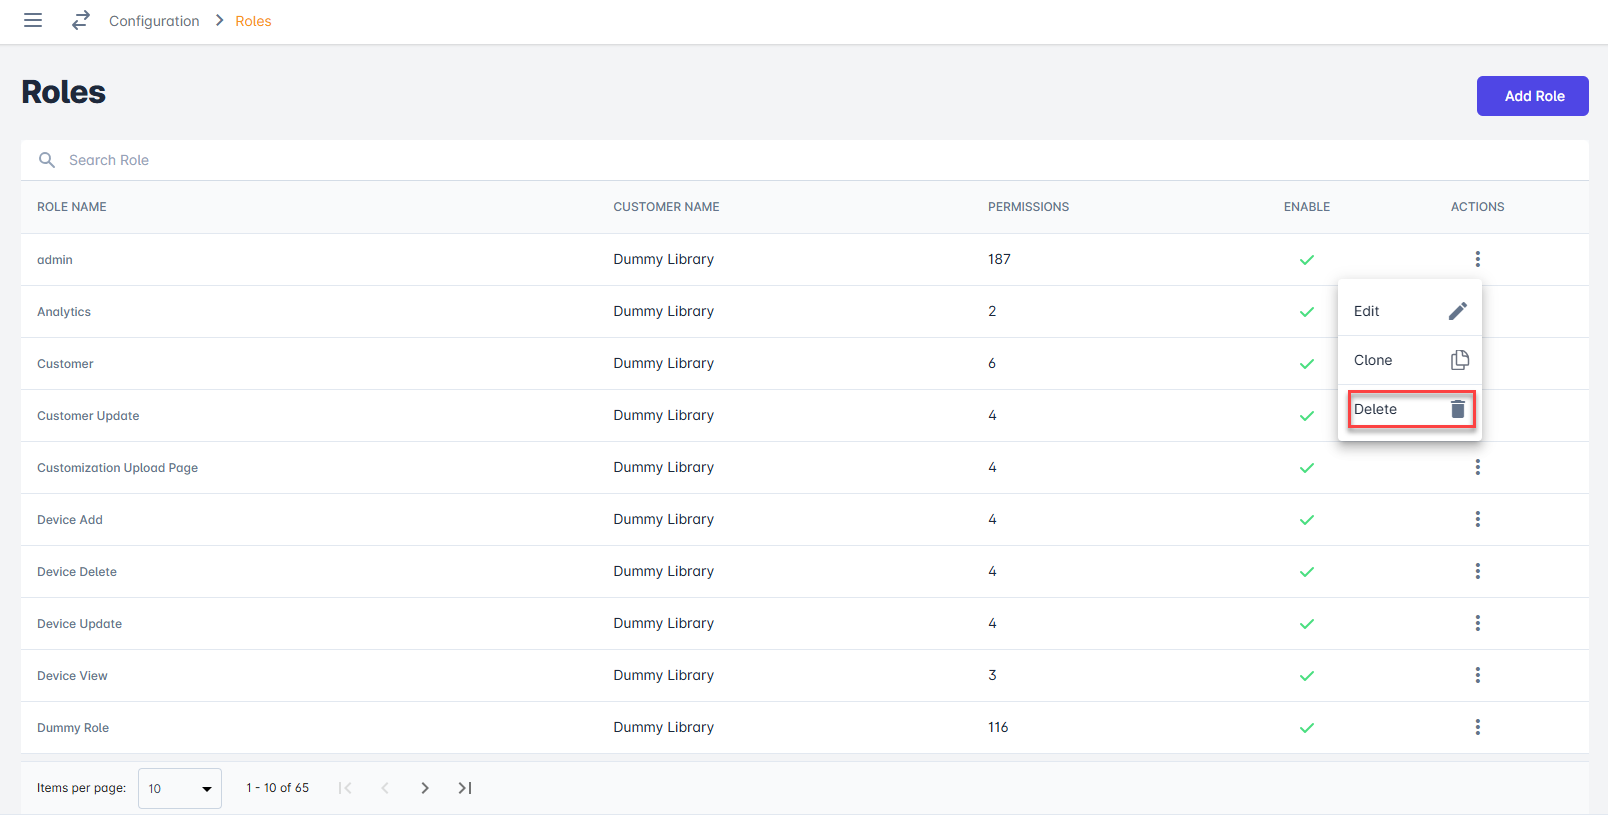
A confirmation message will be displayed. Once confirmed, the Role and its permissions will be deleted from ePRINTit SaaS system.