Add Files
The Add Files functionality in ePRINTit SaaS enables users to select and upload files for printing directly from their linked cloud storage accounts. This feature simplifies the process of printing documents that are stored in cloud-based storage services such as Google Drive, Dropbox, OneDrive, or other supported providers. Here's a description of how this functionality typically works:
Users access the Add Files functionality from within the ePRINTit SaaS application, tapping on the Add Files icon

Selecting Cloud Storage Accounts
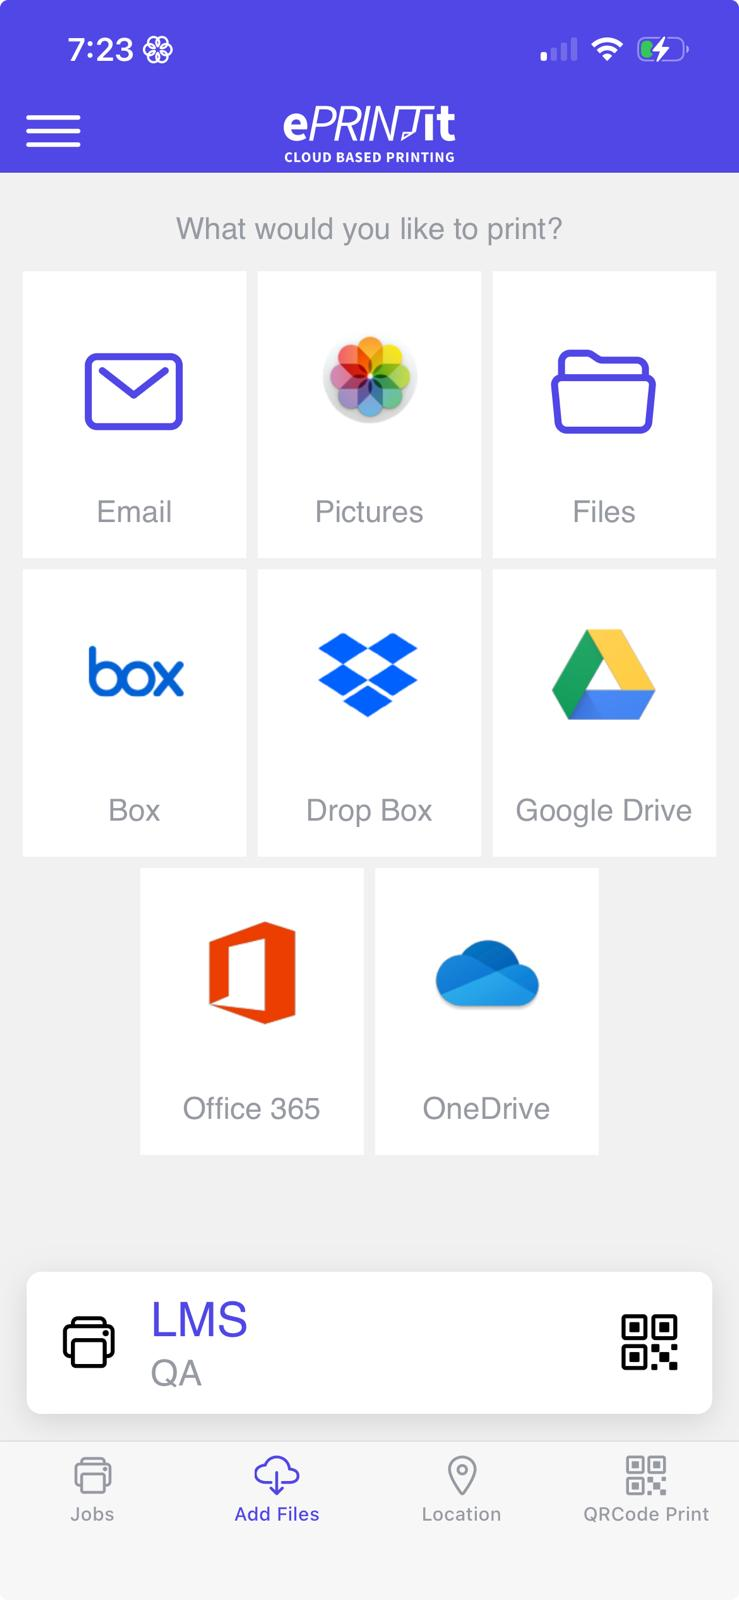
Upon tapping Add Files, users are presented with a screen that allows them to choose the source of the document they want to print.
Users can see a list of the supported cloud storage accounts, such as Google Drive, Dropbox, or OneDrive, displayed as options.
Choosing a Cloud Storage Account
Users can tap on the cloud storage account from which they want to select a file. This action prompts them to log in or authenticate with the selected cloud storage provider if they haven't already done so.
Navigating Cloud Storage Folders
After selecting a cloud storage account and logging in (if required), users can navigate through their cloud storage folders and directories.
The interface often resembles the file explorer of the chosen cloud storage provider, allowing users to browse and search for the document they wish to print.
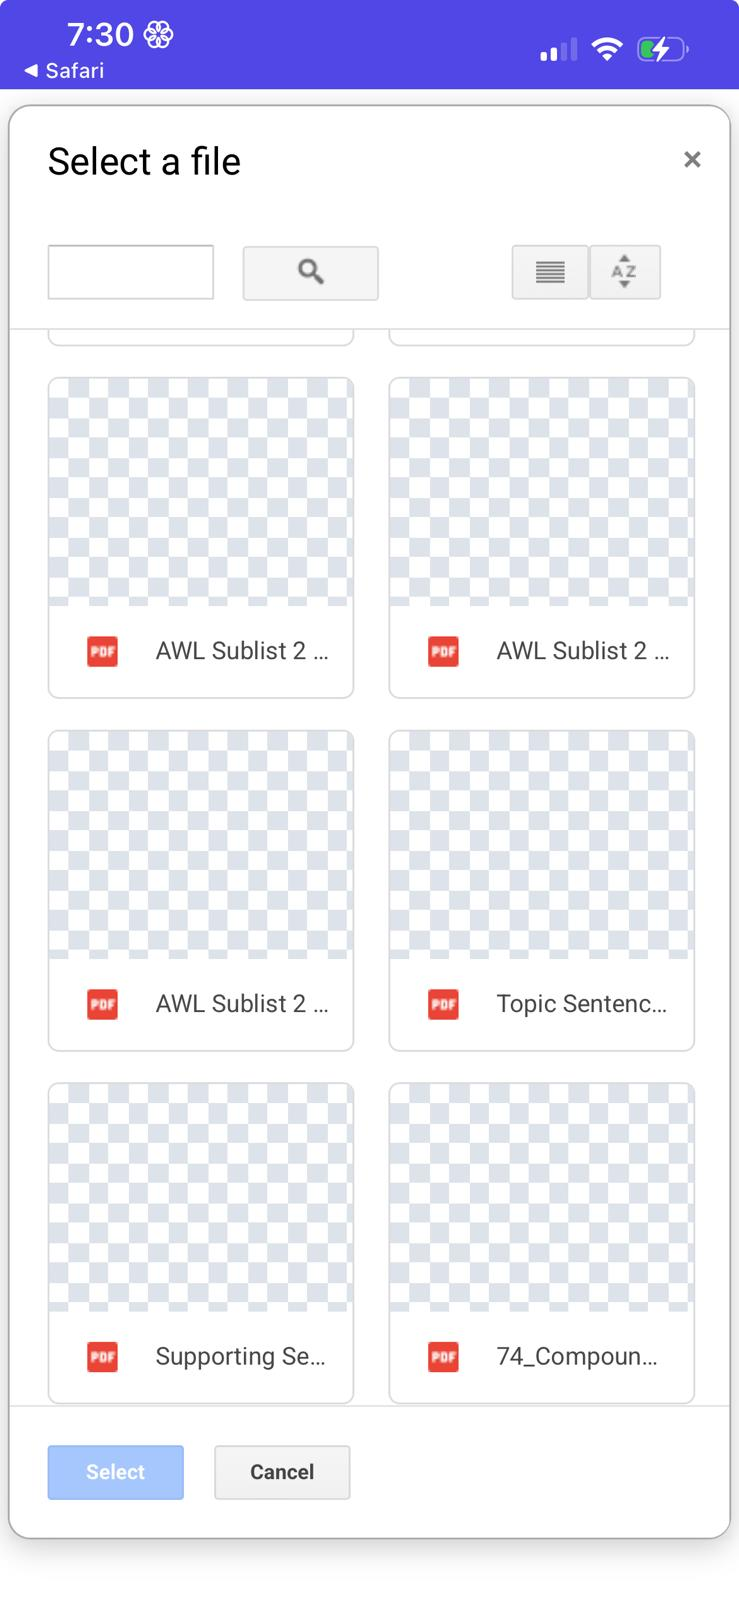
Selecting a Document
Users can tap on the specific document they want to print. The selected document will be indicated with a checkmark.
Adding Multiple Files
Users have the option to select and add multiple files for printing in a single session. They can use checkboxes or multi-select options to choose multiple files.
To add files from email, user should tap on Add Files/Email and select the email provider.
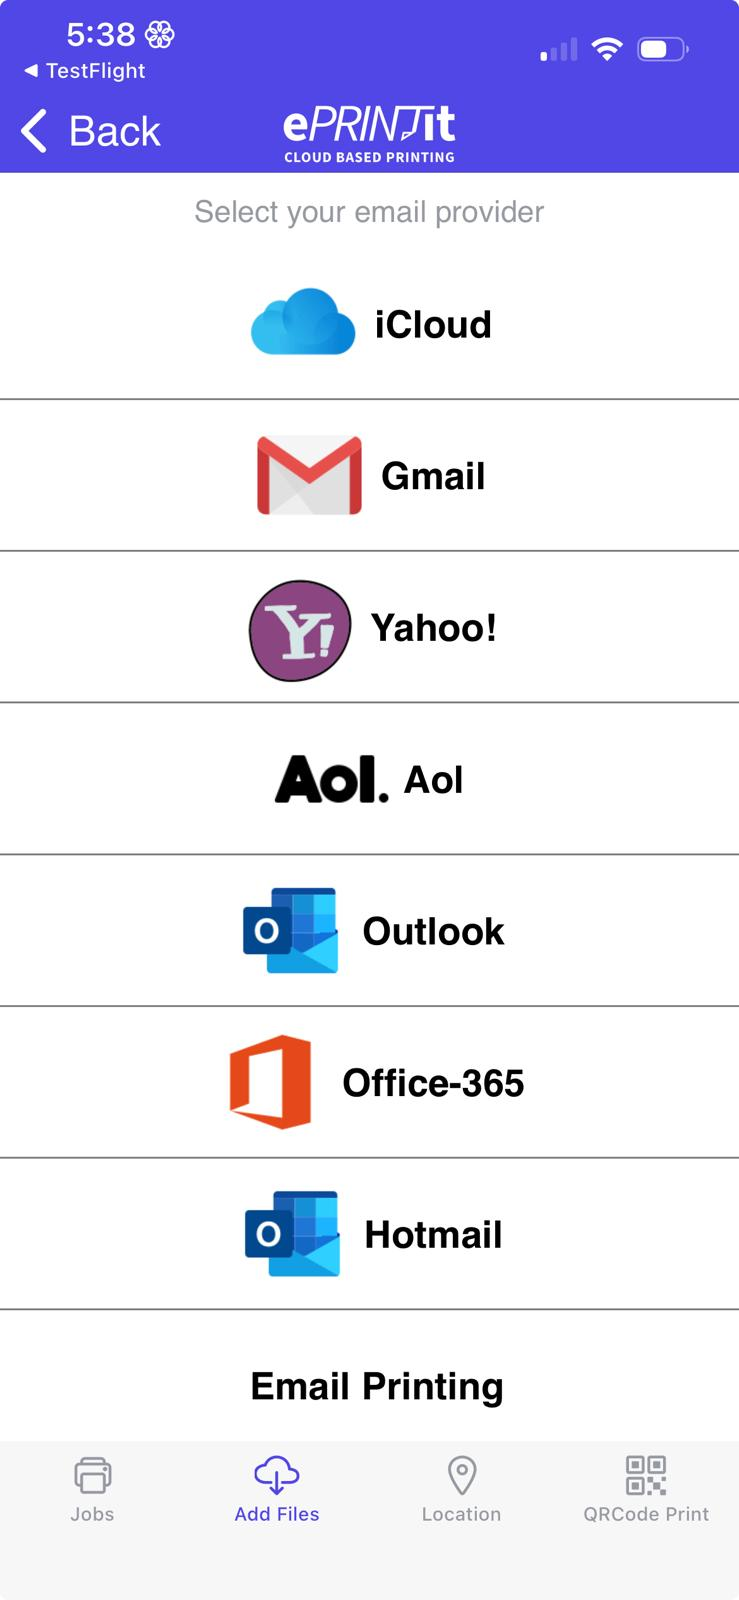
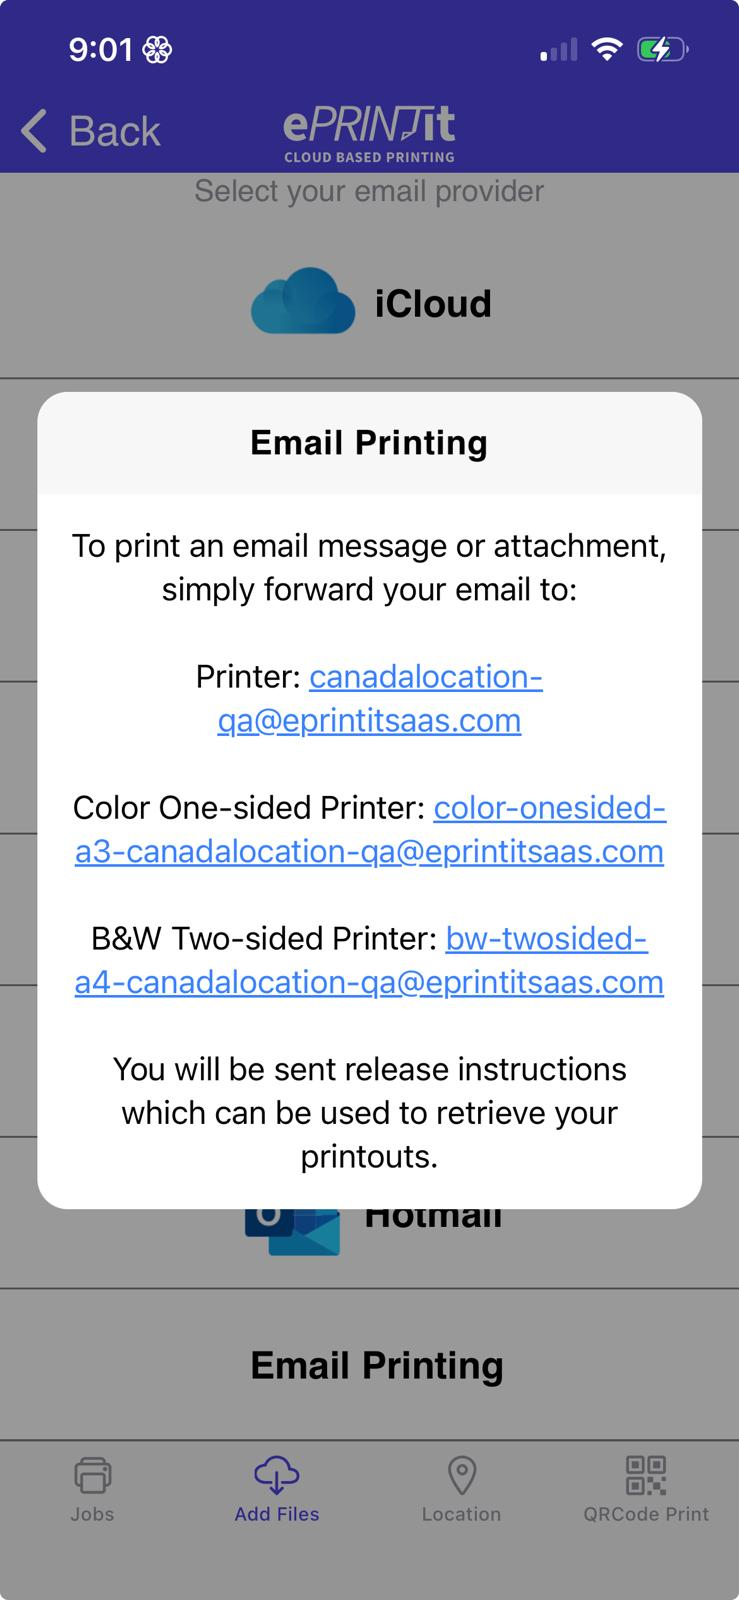
Email Printing
To print an email message or attachment, user can forward the email to the available email for the selected location. To get more information about the email addresses displayed here, click here.
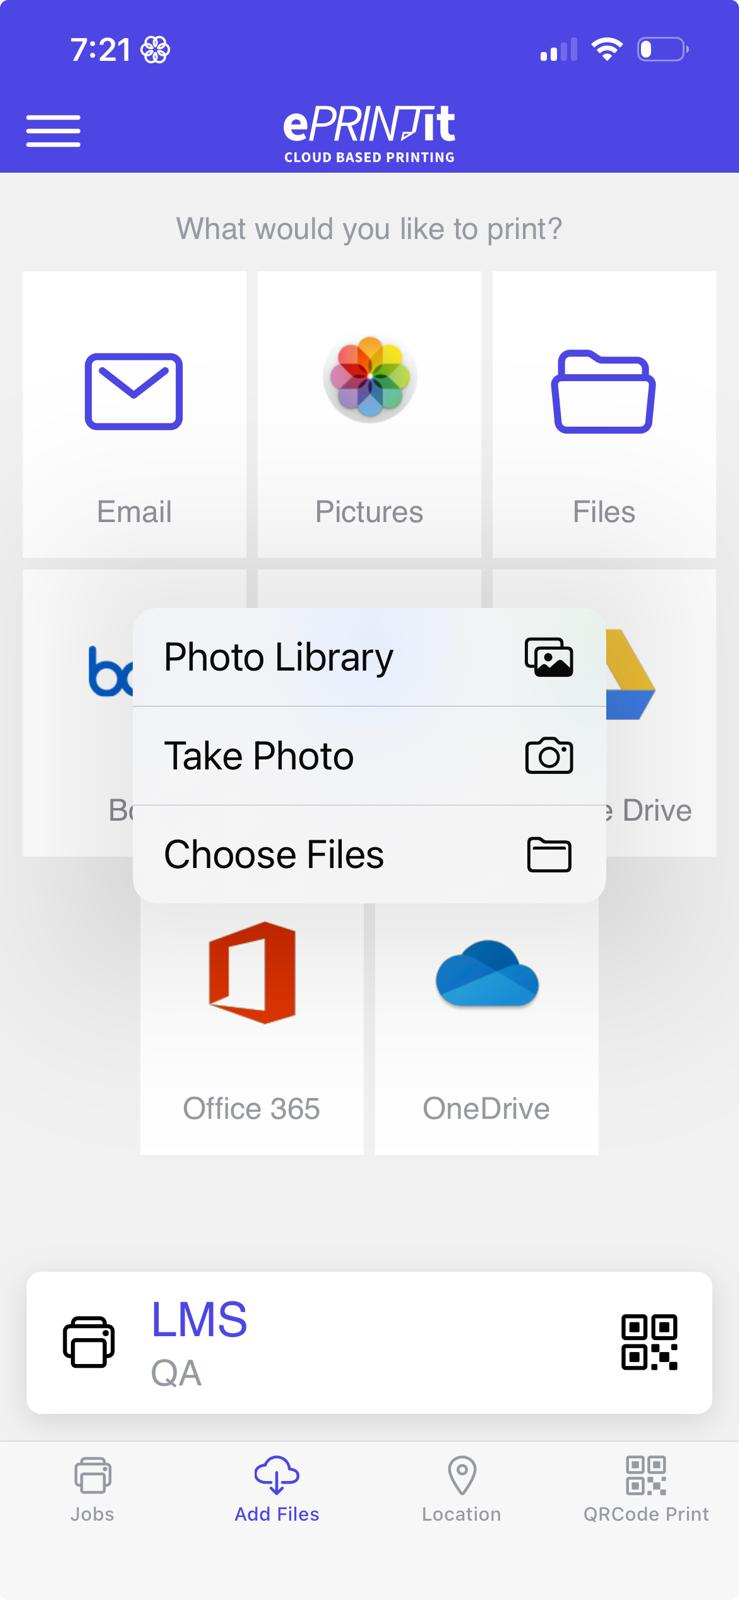
Pictures
To add picture files from the mobile device, user should tap on Pictures and select the file.
Files
To add other type of files from the mobile device, user should tap on Files and select the file.
Dropbox
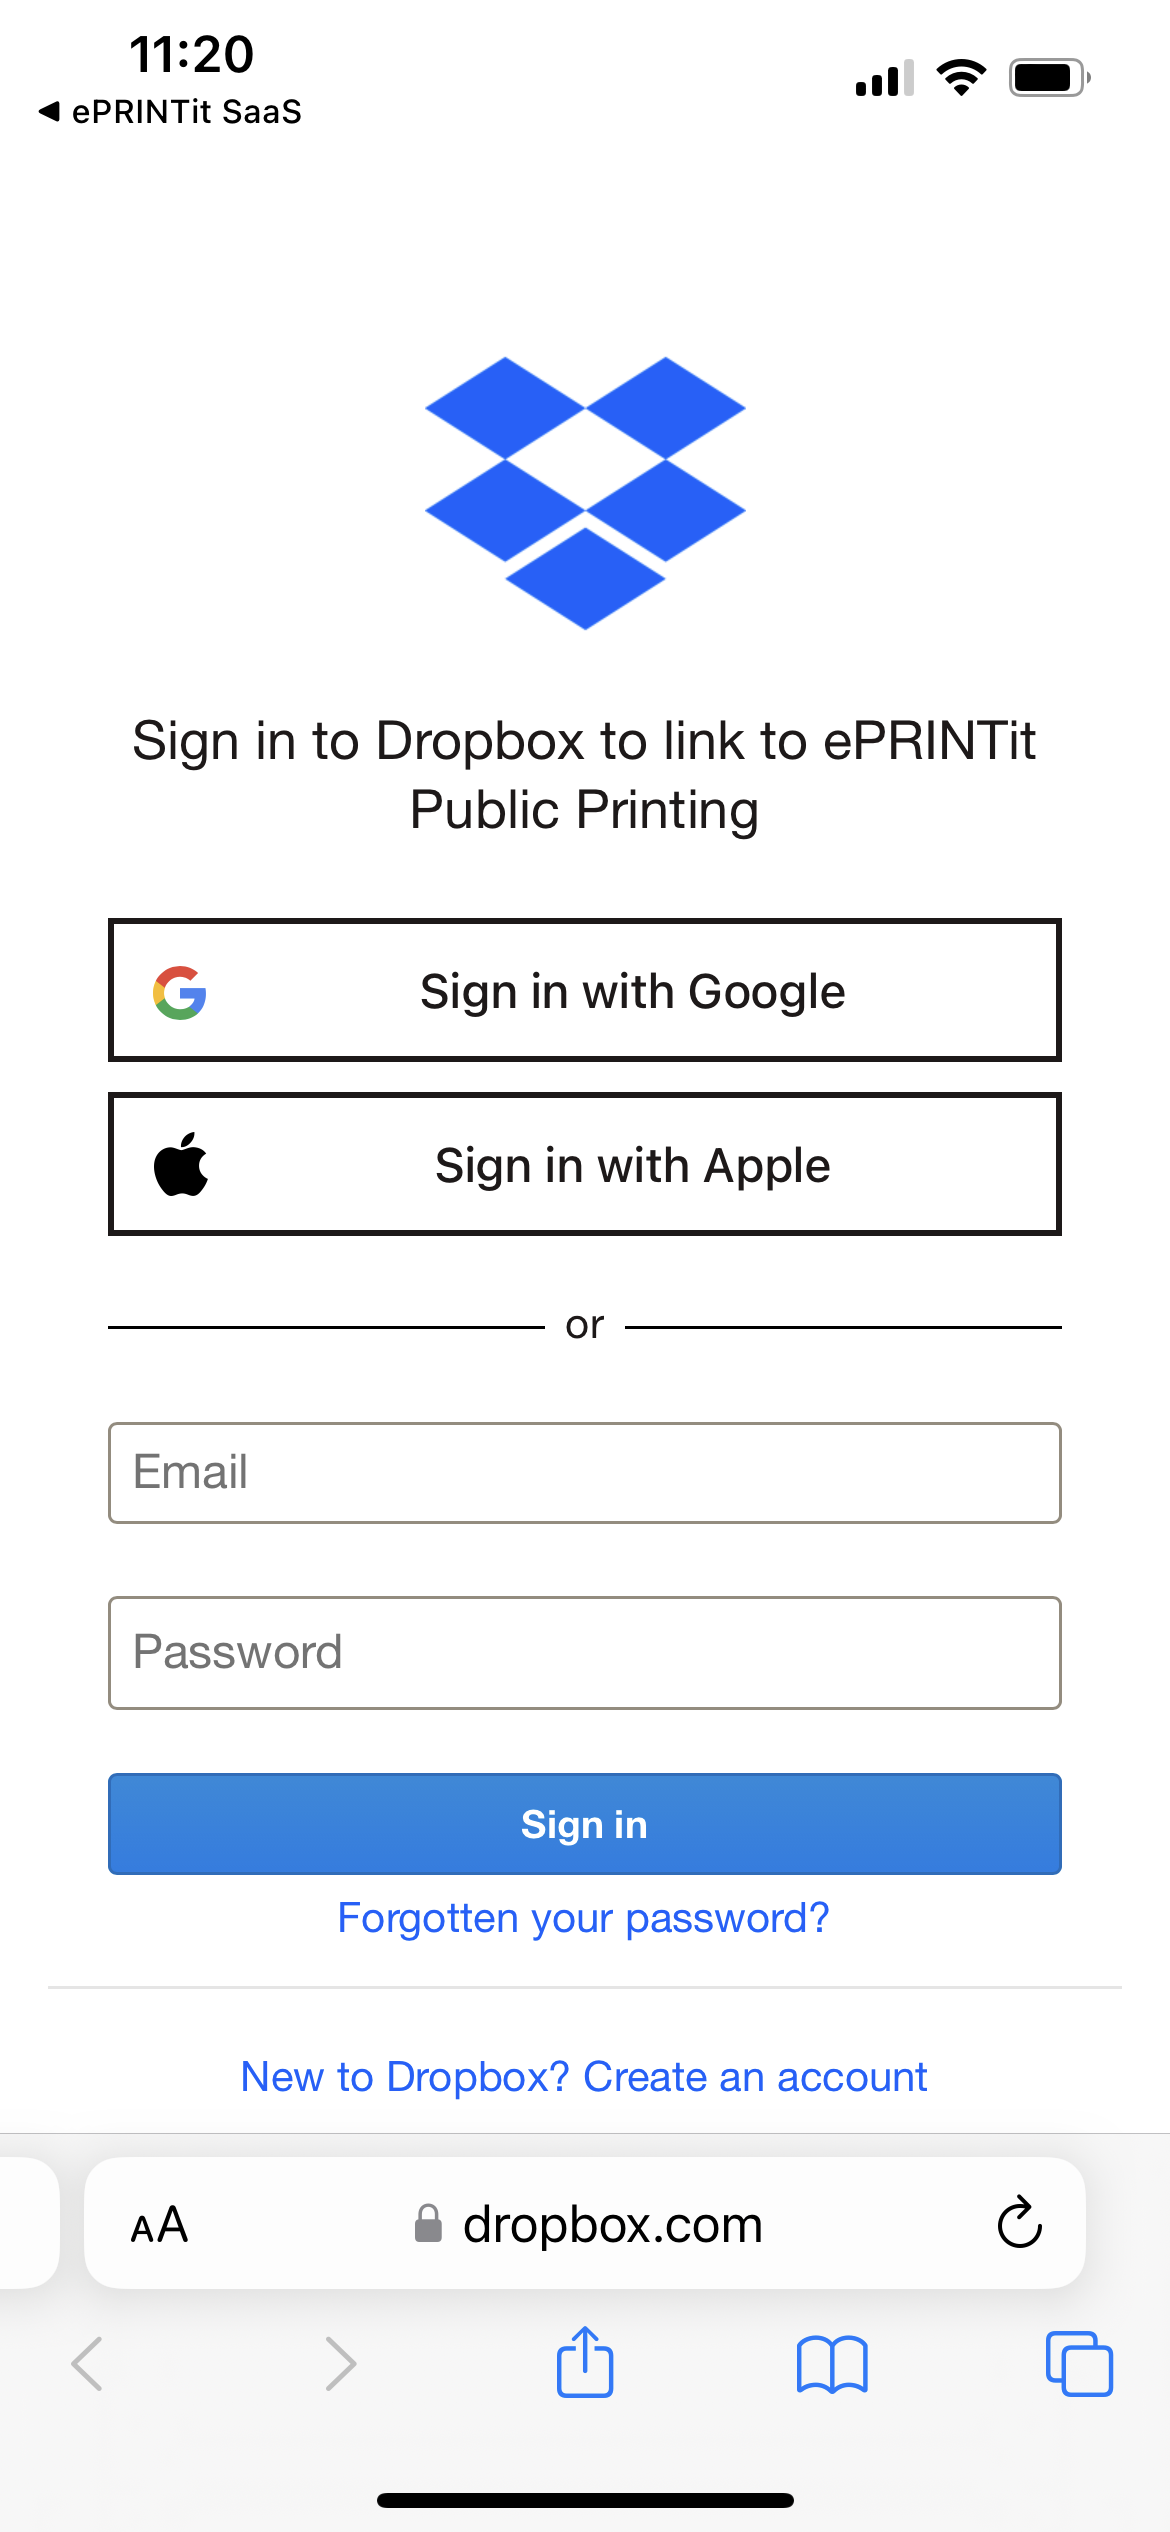
When selecting Dropbox, the following screen will be displayed requesting access to the user’s Dropbox account.

Select the sign in mode:
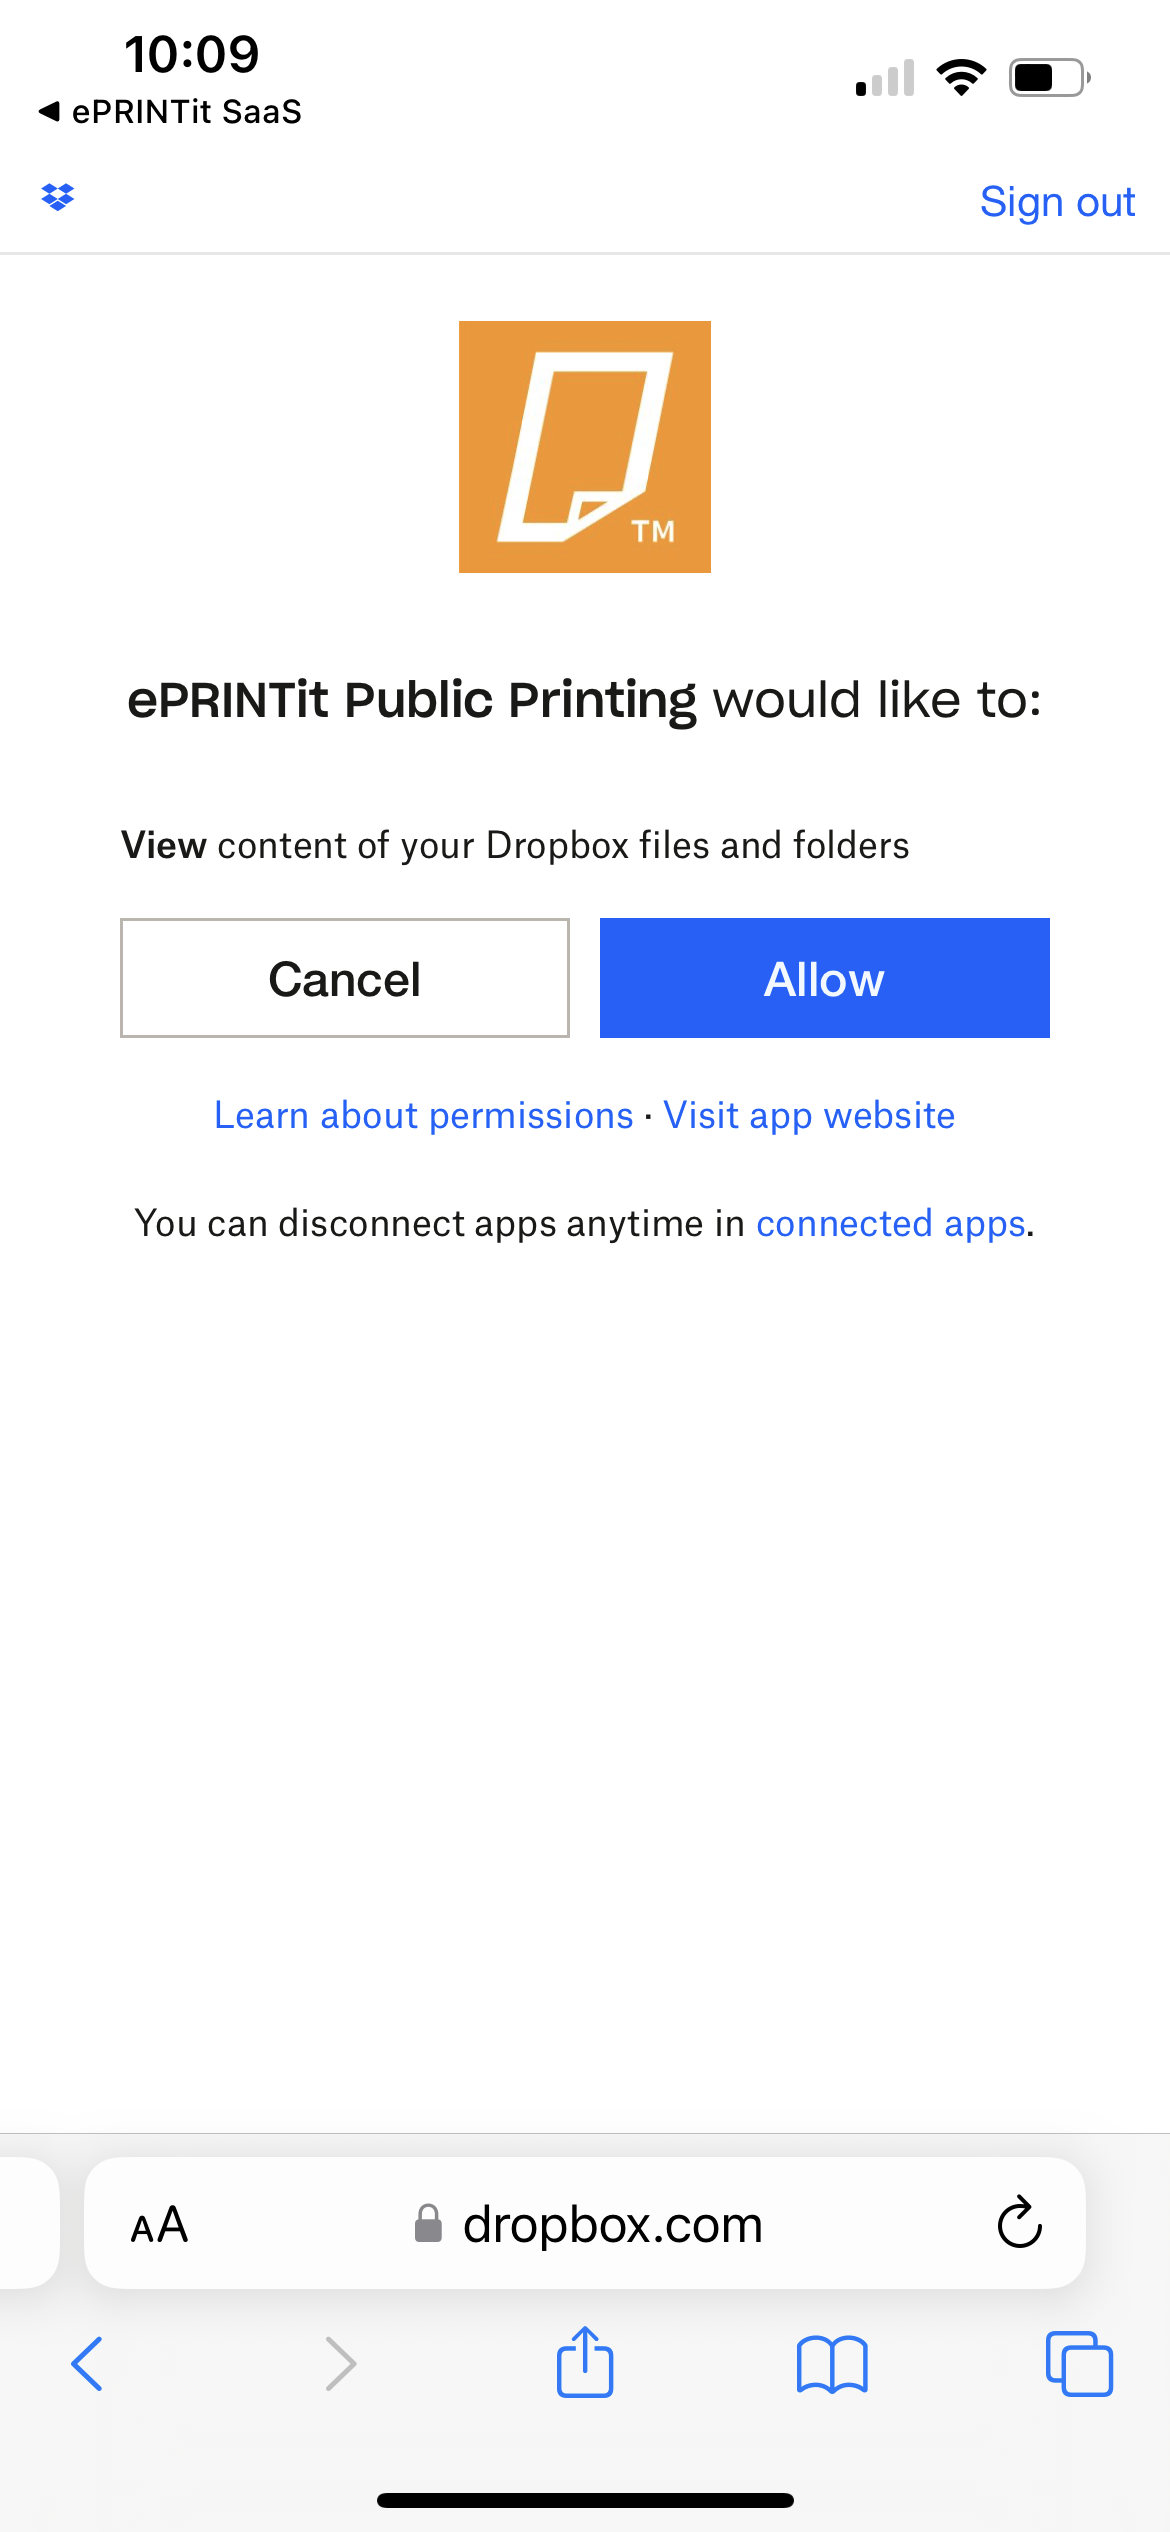
Allow ePRINTit SaaS to access your Dropbox files:
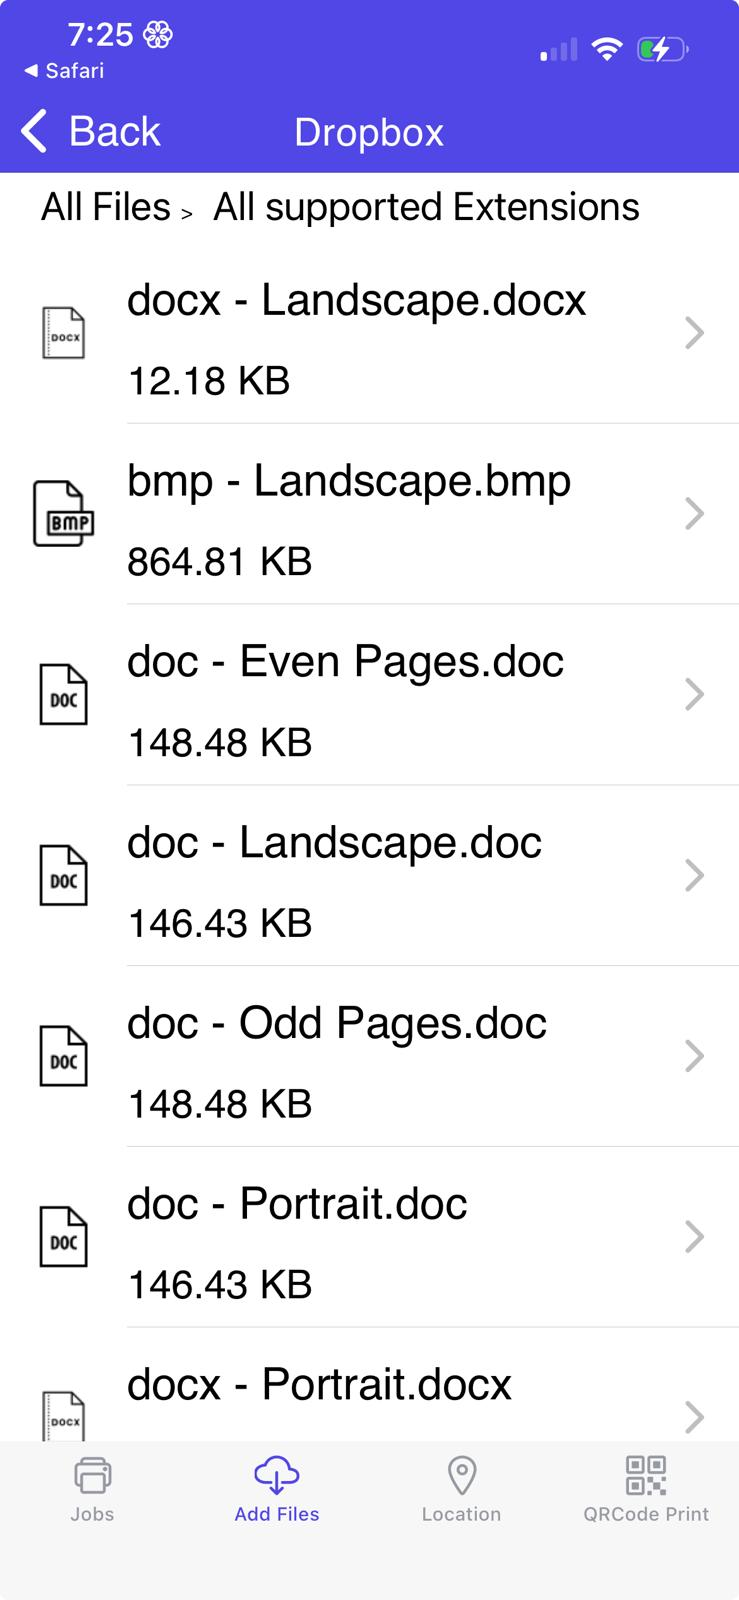
The Dropbox files will be displayed:
Box
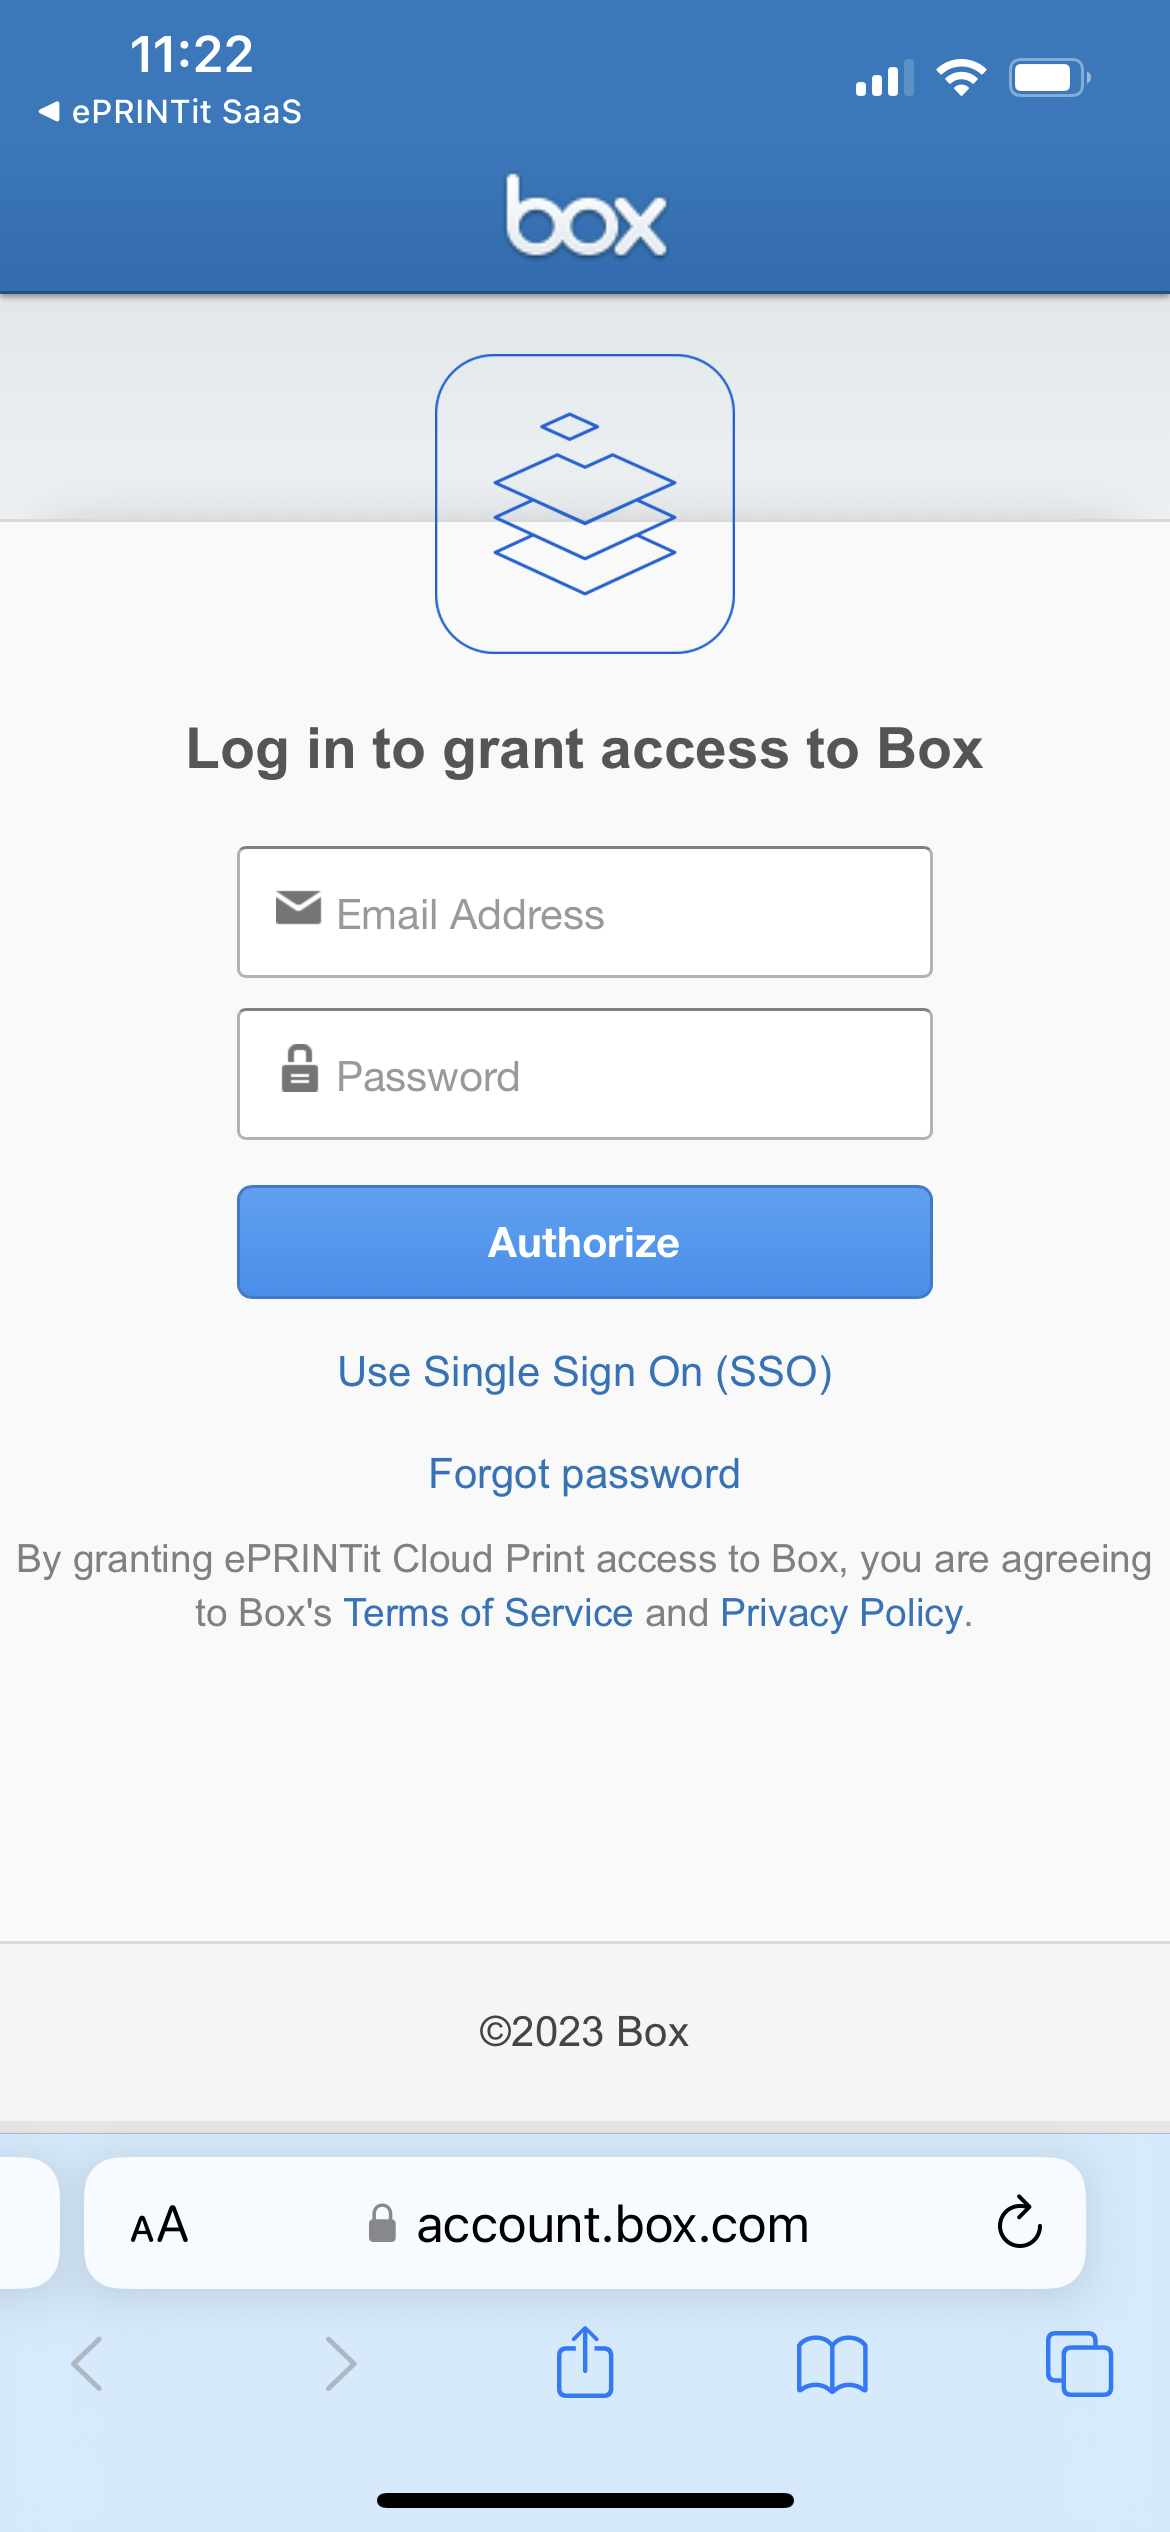
When selecting Box, the following screen will be displayed requesting access to the user’s Box account.
Type the valid credentials and click on Authorize button:
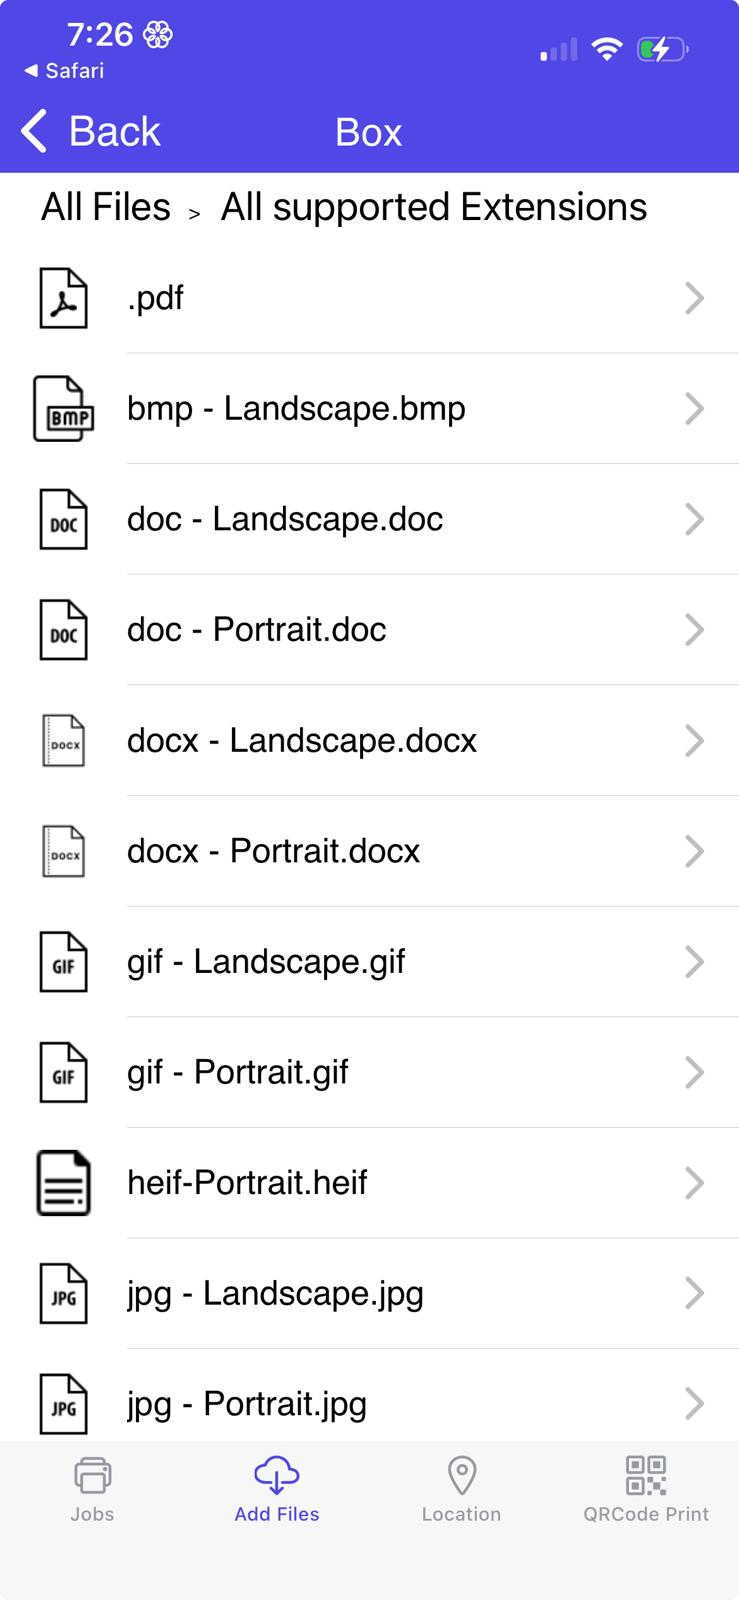
The Box files will be displayed:
Google Drive

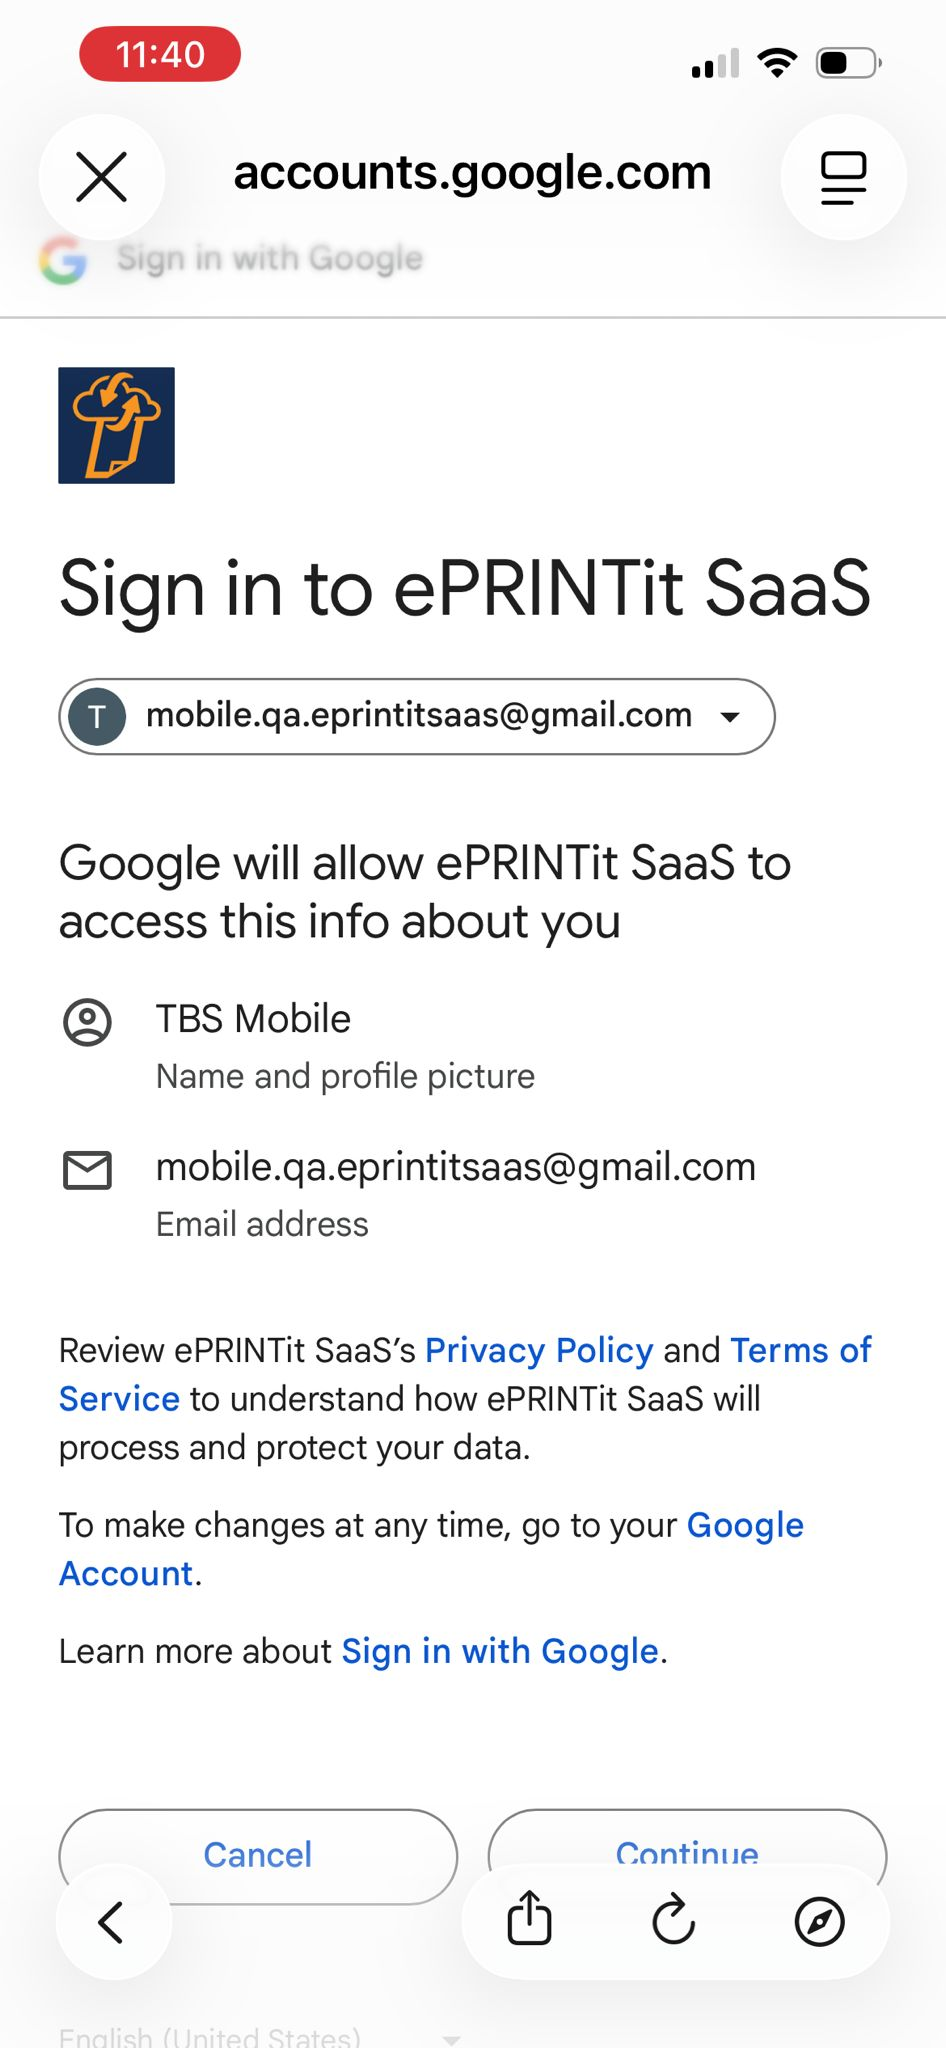
When selecting Google Drive, the following screen will be displayed requesting access to the user’s Google Drive account:
Allow ePRINTit SaaS to access your Google Drive files:
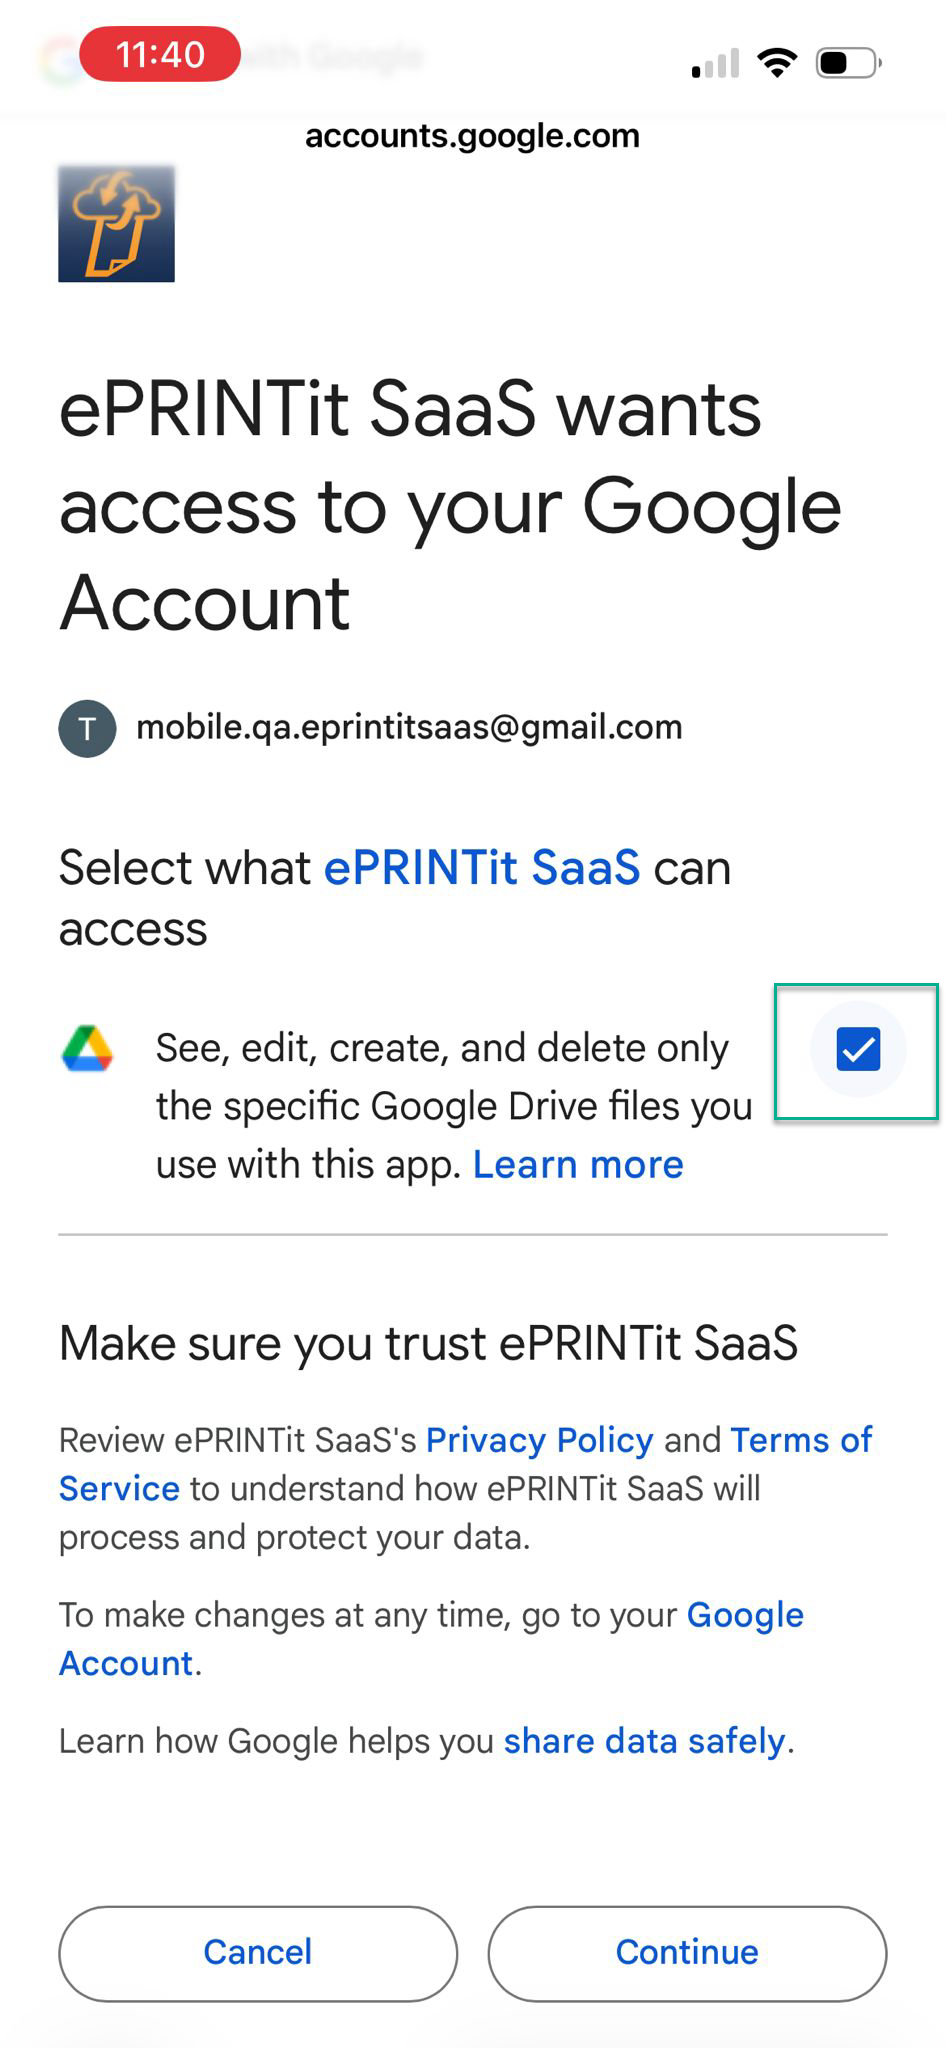
It’s important to grant ePRINTit SaaS permission to access files in the user’s Google account. Otherwise, if the user tries to upload files without granting access, a message will be displayed indicating that Google Drive access is required. The user will then be prompted to check the permission box during login and sign in again.
The Google Drive files will be displayed:
OneDrive
When selecting OneDrive, the following screen will be displayed requesting access to the user’s OneDrive account.
Type the valid credentials and click on Sign in button. The files stored in the OneDrive account, will be displayed.

Office 365
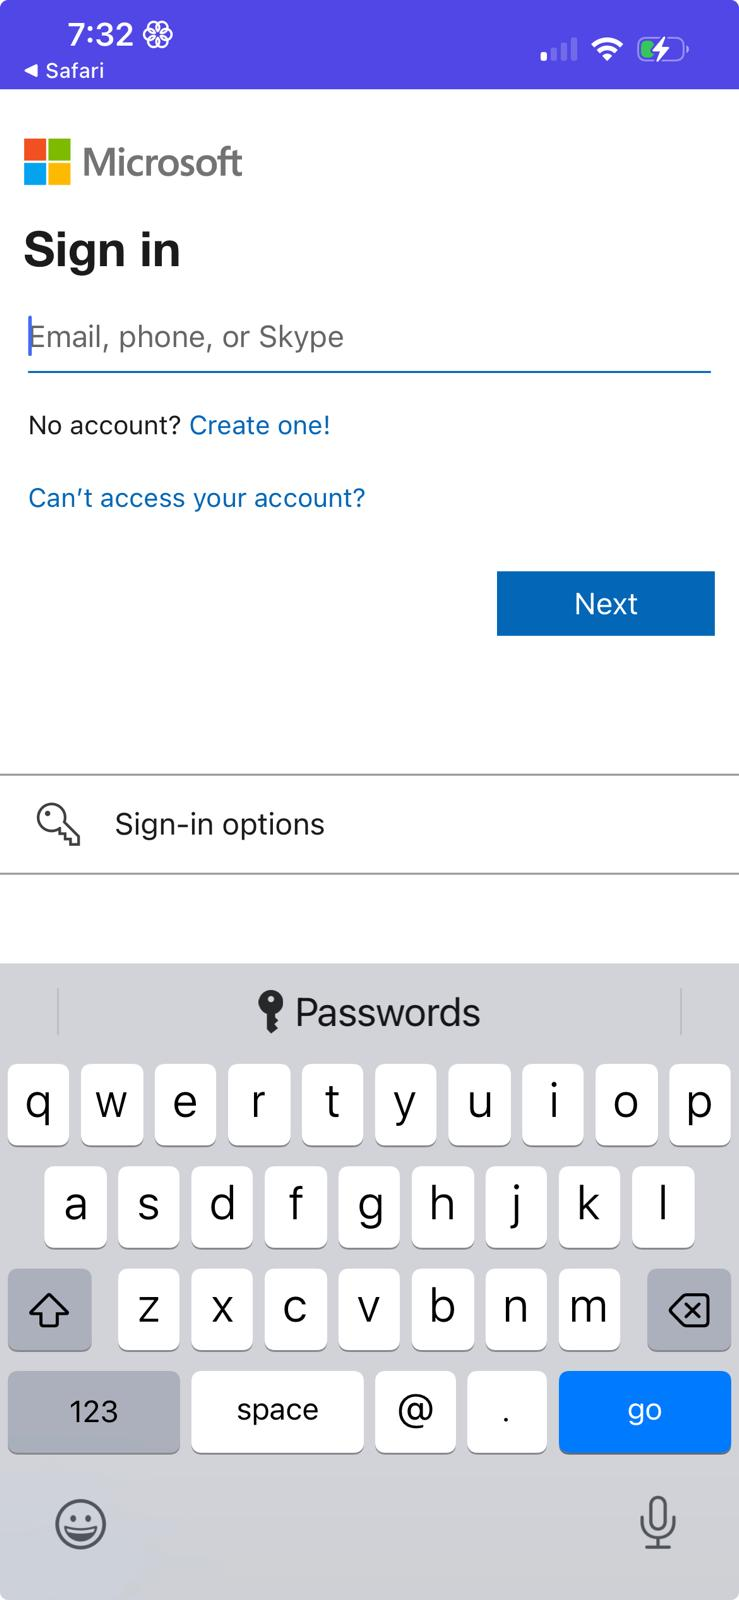
When selecting Office 365, the following screen will be displayed requesting access to the user’s Office 365 account.
Type the valid credentials and click on Sign in button. The files stored in the OneDrive account, will be displayed.